Grow kits - Site under construction
Microgreens are the young seedlings of vegetables and herbs—small in size but big in flavour and nutrition.
Our Grow Kits include everything needed to grow microgreens at home or in the office, making them a sustainable gift and an engaging, hands-on activity.
For added value, include an onsite activation with a vibrant microgreen display, fresh tastings, giveaways, and interactive staff engagement to kickstart the Grow Kit experience.
What’s included
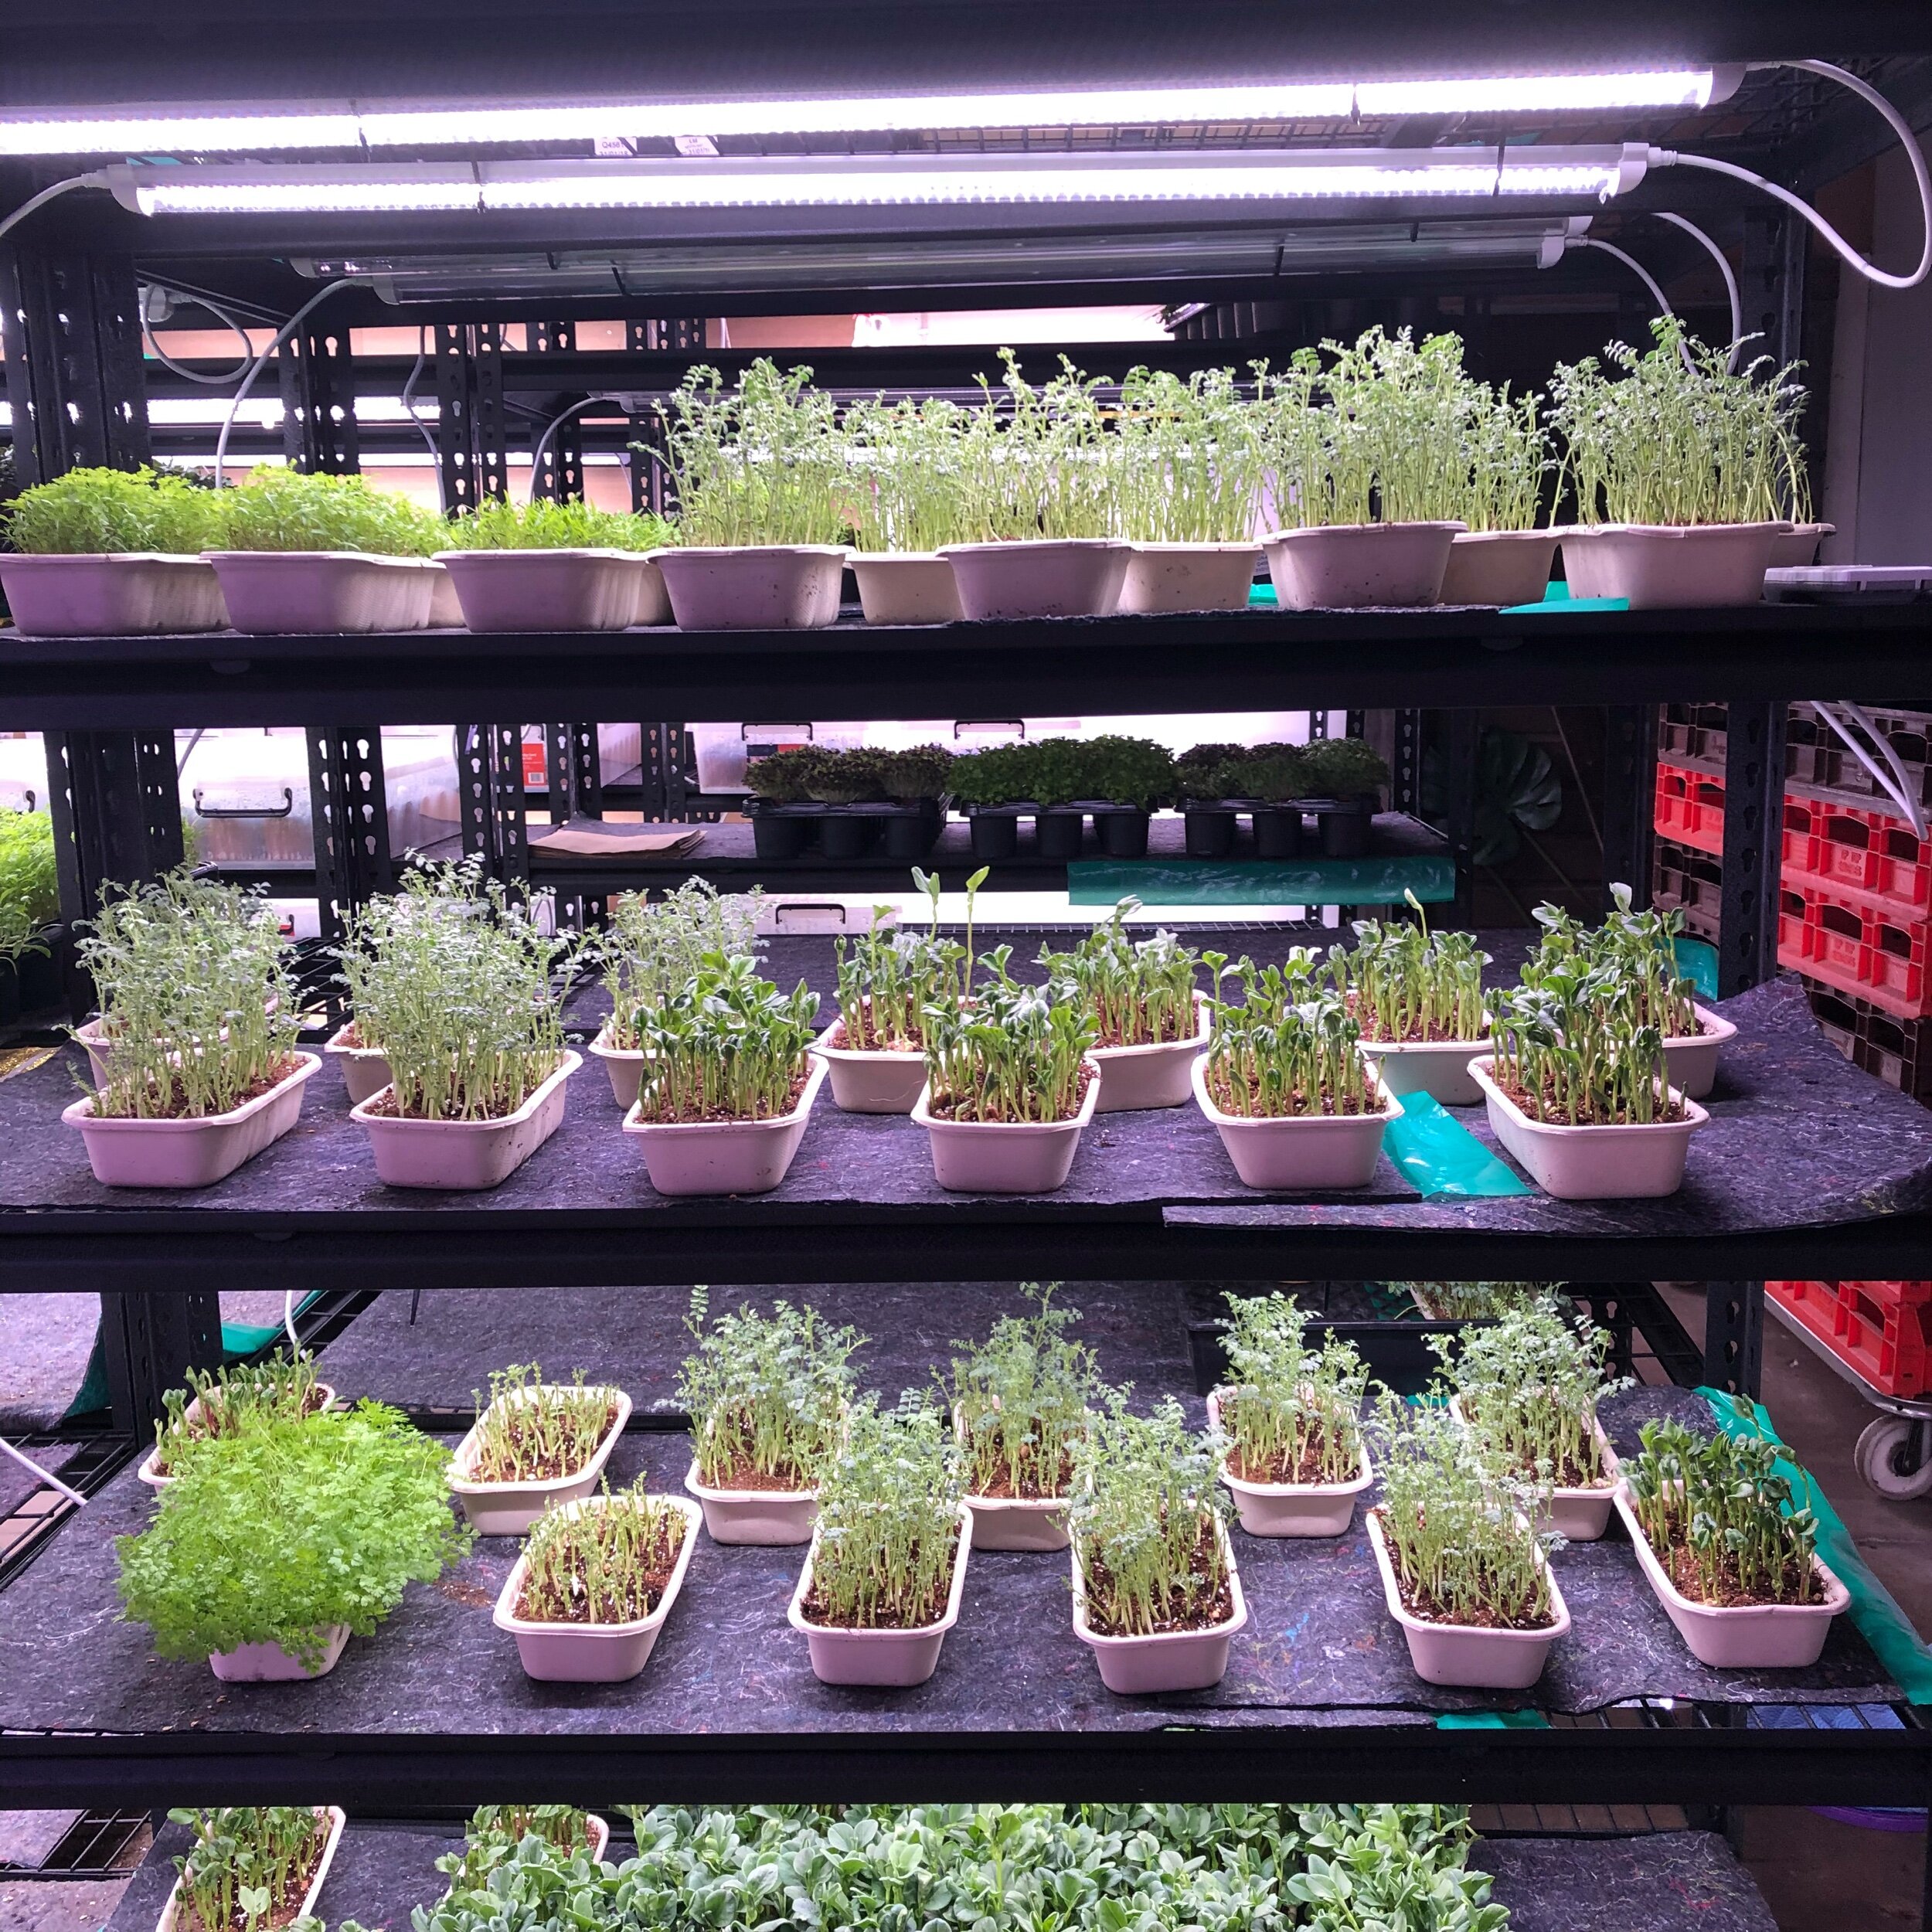
The kit includes everything you need to grow your own microgreens:
4 seed varieties
Soil mix
4 biodegradable pots with lids
DIY plant stand box
Easy step-by-step instructions
Card with personalised message
WHY IT MATTERS
Easy to use – Simple and enjoyable, even for beginners.
Fast growth – Fresh greens sprout in just a few days on a desk or windowsill.
Supports wellbeing – Brings a mindful, hands-on activity that encourages healthier habits.
Local impact – Supports local, sustainable businesses.
costumise your grow kits
Choice of seeds – Select varieties to suit your team.
Branded packaging – Add your company logo.
Personalised message – Include a card tailored to your employees.
Exclusive
Grow Kits Order Form


Frequently Asked Questions
-
The kit includes everything you need to grow your own microgreens:
4 seed varieties
Soil mix
4 biodegradable pots with lids
DIY plant stand box (the packaging transforms into a stand!)
Easy step-by-step instructions
Card with personalised message
Our packaging is made from recycled cardboard, and the pots are 100% biodegradable.
Video guide: How to use your kit
Video guide: Build your plant stand -
Most microgreens germinate quickly—often within just a few days!
Exact germination times vary by seed variety, so check your planting guide for details.
-
Soak – Place the coir block in a small bowl and add 1 cup (250 ml) of water.
Wait – Let it soak for about 5 minutes.
Mix – Stir or break it apart gently with your hands or a fork until evenly mixed.
Check moisture – The medium should feel like a damp sponge: a little water comes out when squeezed, but it shouldn’t be soggy or dripping.
-
Microgreens are only grown for 2–3 weeks, so drainage isn’t necessary—the roots stay shallow and don’t have time to rot.
What matters most is not overwatering. Keep the soil moist (not wet) and only water when the top looks or feels dry, or if the plants look droopy.
A good guide is about 50 ml every other day.
-
You don’t have to soak peas, but doing so will improve germination. Regular tap water works perfectly well. Here’s how:
Soak – Place peas in a small container and cover with about 2 cm of tap water.
Wait – Leave at room temperature overnight (no longer than 16 hours).
Rinse – Drain and rinse the peas well.
Plant – They’re now ready to sow in your grow medium.
P.S. Only peas need soaking—no need to soak the other seed varieties in your kit.
-
Microgreens are versatile, nutrient-packed, and full of flavour. You can:
Enhance flavour – Add them to sandwiches, wraps, and salads.
Blend or juice – Mix them into smoothies or juices for a nutritious boost.
Gourmet garnish – Use them as a fresh, colourful garnish on pizzas, soups, omelets, curries, and more—just like fine dining chefs do.
For more inspiration and tips, check out @urbangreensydney on Instagram.
Share your microgreens journey from seed to harvest—we’d love to see your plants and how they add a vibrant touch to your dishes. Tag @urbangreensydney or use #urbangreensydney.